In the above example, we’ve designed the subscriber, the FooItems class, to declare an array of strings correlating to properties in the store’s state. If you’re from the Redux world, this is akin to “connecting” a consumer to a provider via higher-order function/component.
After the subscribe call is made, your bindSubscriber function will be called where you can pass along the default values as you see fit.
NOTE: In general, you should try to use a simple data structure as the second argument to subscribe; this ensures your bindings have generic and consistent expectations.
dispatch(type, payload)
Requests a state change in your store.
We can extend the previous example with a setter to call dispatch:
Now when the addItem method is called, Core Flux will pass along the action type and payload to your reducer.
The reducer could have a logic branch on the action type called ADD_ITEM which adds the given item to state, then returns the resulting new state (containing the full items list).
Finally, the result would then be handed over to your bindState binding.
NOTE: Much like in subscribe, it’s best to maintain data types in the payload so your reducer can have consistent expectations.
Bindings
Here’s a breakdown of each binding needed when initializing a new store:
bindSubscriber(subscription, state)
subscription ([subscriber, data]): A tuple containing the subscribed object and its state-relational data. state (object): The current state object.
Called after a new subscribe is made and a subscription has been added to the store. Use it to set initial state on the new subscriber. Use the data provided to infer a new operation, e.g., setting a stateful property to the subscriber.
reducer(state, action)
state (object): Snapshot of the current state object. action ({ type: string, payload: object }): The dispatched action type and its payload.
Called during a new dispatch. Create a new version of state and return it.
bindState(subscriptions, reducedState, setState)
subscriptions (subscription[]): An array containing all subscriptions. reducedState (object): The state object as returned by the reducer. setState (function):
Called at the end of a dispatch call, after your reducer callback has processed the next state value. Set your new state back to subscribers and back to the store. It’s possible and expected for you to call bindSubscriber again to DRYly apply these updates. You can return from this function safely to noop.
Exposing the store
For utility or debugging reasons, you may want to look at the store you’re working with. To do so, you can use the __data property when creating a store:
A online racing game written in Node.js using Socket.io, Express and PIXI.js.
Current Status
RaceMMO was intended to be a racing game. Since starting this project RaceGame.io has launched which has many similarities to my original concept. As a result of this RaceMMO has turned into a currently abandoned proof of concept of creating a multiplayer game with entities over a network (featuring latency compensation and linear interpolation) moving cubes.
See Todo.html (Or run the server and Todo.html will be embedded into the homepage) for features not yet implemented, known bugs and possible additions in the future.
Installation
This has only been tested on linux and relies on bash for the run scripts.
Clone Repo, run npm install to install dependencies, create the directory public/javascripts if it doesn’t already exist,
run npm run build and then run npm run start which will start the server on port 3000 or the environment variable PORT.
Navigate to http://localhost:3000 to view server.
Your support fuels development of the dd7to9 functionality to enable older games to run smoothly on current platforms. Whether it’s a one-time boost via PayPal or ongoing monthly support on Patreon, your contribution ensures continued improvements and commitment to the growth of the project. Please note, your support is invaluable, but it won’t influence specific game prioritization. Join us on this journey!
DxWrapper is a .dll file designed to wrap DirectX files to fix compatibility issues in older games. This project is primarily targeted at fixing issues with running games on Windows 10/11, by simply dropping .dll and .ini files into the game folder. Its secondary purpose is to offer a single tool combining several projects into one.
Features
DxWrapper includes a wide range of features:
đŽ Major Graphics Conversion and Enhancement
DirectDraw/Direct3D 1â7 to Direct3D 9 conversion via Dd7to9
So far I have tested this with hundreds of games (many of which don’t otherwise work correctly) to get them running on Windows 10/11. Most games will work, but some still have issues. Check out the Compatible Games wiki and the Dd7to9 Supported Games wiki for a list.
Installation
Download the latest binary release from the repository’s Release page and unzip it to a folder.
Determine which stub .dll file is needed for the game. This depends on many factors which will be explained on page created later. Common stub dll’s to use are ddraw.dll, d3d8.dll, d3d9.dll, dsound.dll or winmm.dll. You only need to choose one stub file to load dxwrapper into the game.
Copy this .dll file from the ‘Stub’ folder plus the dxwrapper.dll and dxwrapper.ini files into the game’s installation directory, next to the main executable file. For some games the main executable is in a subdirectory (like ‘Bin’, ‘Exe’ or ‘App’) so the files will need to be copied it into that directory. Overwriting of any existing game files is not recommended.
Open up the dxwrapper.ini file in a text editor and enable the settings needed for the game.
Do not attempt to overwrite any .dll in a Windows system directory as it is currently not supported and will not work.
Uninstallation
Delete the DxWrapper .dll and .ini files from the game’s directory. You can also delete the log file, if there is one.
Configuration
To configure DxWrapper, edit the .ini file and enable the settings wanted. See the Configuration wiki for more details.
The log file will be created in the same folder where the game executable is located. It will be named ‘dxwrapper’ with the name of the game executable appended to it. So if you are running the file game.exe then the log file will be called dxwrapper-game.log.
Supported DLLs
DxWrapper can wrap the following dlls:
bcrypt.dll
cryptbase.dll
cryptsp.dll
d2d1.dll
d3d8.dll
d3d9.dll
dciman32.dll
ddraw.dll
dinput.dll
dinput8.dll
dplayx.dll
dsound.dll
dwmapi.dll
msacm32.dll
msvfw32.dll
version.dll
wininet.dll
winmm.dll
winmmbase.dll
winspool.drv
wsock32.dll
License
Copyright (C) 2025 Elisha Riedlinger
This software is provided ‘as-is’, without any express or implied warranty. In no event will the author(s) be held liable for any damages arising from the use of this software. Permission is granted to anyone to use this software for any purpose, including commercial applications, and to alter it and redistribute it freely, subject to the following restrictions:
The origin of this software must not be misrepresented; you must not claim that you wrote the original software. If you use this software in a product, an acknowledgment in the product documentation would be appreciated but is not required.
Altered source versions must be plainly marked as such, and must not be misrepresented as being the original software.
This notice may not be removed or altered from any source distribution.
Third-Party Licenses
d3d8to9 by Patrick Mours
Portions of this project make use of code from the d3d8to9 project by Patrick Mours, which is licensed as follows:
Copyright (C) 2015 Patrick Mours.
All rights reserved.
Redistribution and use in source and binary forms, with or without modification, are permitted provided that the following conditions are met:
Redistributions of source code must retain the above copyright notice, this list of conditions and the following disclaimer.
Redistributions in binary form must reproduce the above copyright notice, this list of conditions and the following disclaimer in the documentation and/or other materials provided with the distribution.
THIS SOFTWARE IS PROVIDED BY THE COPYRIGHT HOLDERS AND CONTRIBUTORS “AS IS” AND ANY EXPRESS OR IMPLIED WARRANTIES, INCLUDING, BUT NOT LIMITED TO, THE IMPLIED WARRANTIES OF MERCHANTABILITY AND FITNESS FOR A PARTICULAR PURPOSE ARE DISCLAIMED. IN NO EVENT SHALL THE COPYRIGHT HOLDER OR CONTRIBUTORS BE LIABLE FOR ANY DIRECT, INDIRECT, INCIDENTAL, SPECIAL, EXEMPLARY, OR CONSEQUENTIAL DAMAGES (INCLUDING, BUT NOT LIMITED TO, PROCUREMENT OF SUBSTITUTE GOODS OR SERVICES; LOSS OF USE, DATA, OR PROFITS; OR BUSINESS INTERRUPTION) HOWEVER CAUSED AND ON ANY THEORY OF LIABILITY, WHETHER IN CONTRACT, STRICT LIABILITY, OR TORT (INCLUDING NEGLIGENCE OR OTHERWISE) ARISING IN ANY WAY OUT OF THE USE OF THIS SOFTWARE, EVEN IF ADVISED OF THE POSSIBILITY OF SUCH DAMAGE.
Detours & DirectXMath by Microsoft
Portions of this project make use of code from the detours and DirectXMath projects by Microsoft, which is licensed as follows:
Copyright (c) Microsoft Corporation.
MIT License
Permission is hereby granted, free of charge, to any person obtaining a copy of this software and associated documentation files (the “Software”), to deal in the Software without restriction, including without limitation the rights to use, copy, modify, merge, publish, distribute, sublicense, and/or sell copies of the Software, and to permit persons to whom the Software is furnished to do so, subject to the following conditions:
The above copyright notice and this permission notice shall be included in all copies or substantial portions of the Software.
THE SOFTWARE IS PROVIDED AS IS, WITHOUT WARRANTY OF ANY KIND, EXPRESS OR IMPLIED, INCLUDING BUT NOT LIMITED TO THE WARRANTIES OF MERCHANTABILITY, FITNESS FOR A PARTICULAR PURPOSE AND NONINFRINGEMENT. IN NO EVENT SHALL THE AUTHORS OR COPYRIGHT HOLDERS BE LIABLE FOR ANY CLAIM, DAMAGES OR OTHER LIABILITY, WHETHER IN AN ACTION OF CONTRACT, TORT OR OTHERWISE, ARISING FROM, OUT OF OR IN CONNECTION WITH THE SOFTWARE OR THE USE OR OTHER DEALINGS IN THE SOFTWARE.
Hooking.Patterns by ThirteenAG
Portions of this project make use of code from the Hooking.Patterns project by ThirteenAG, which is licensed as follows:
Copyright (c) 2014 Bas Timmer/NTAuthority et al.
Permission is hereby granted, free of charge, to any person obtaining a copy of this software and associated documentation files (the “Software”), to deal in the Software without restriction, including without limitation the rights to use, copy, modify, merge, publish, distribute, sublicense, and/or sell copies of the Software, and to permit persons to whom the Software is furnished to do so, subject to the following conditions:
The above copyright notice and this permission notice shall be included in all copies or substantial portions of the Software.
THE SOFTWARE IS PROVIDED “AS IS”, WITHOUT WARRANTY OF ANY KIND, EXPRESS OR IMPLIED, INCLUDING BUT NOT LIMITED TO THE WARRANTIES OF MERCHANTABILITY, FITNESS FOR A PARTICULAR PURPOSE AND NONINFRINGEMENT. IN NO EVENT SHALL THE AUTHORS OR COPYRIGHT HOLDERS BE LIABLE FOR ANY CLAIM, DAMAGES OR OTHER LIABILITY, WHETHER IN AN ACTION OF CONTRACT, TORT OR OTHERWISE, ARISING FROM, OUT OF OR IN CONNECTION WITH THE SOFTWARE OR THE USE OR OTHER DEALINGS IN THE SOFTWARE.
imgui by ocornut
Portions of this project make use of code from the imgui project by ocornut, which is licensed as follows:
The MIT License (MIT)
Copyright (c) 2014-2025 Omar Cornut
Permission is hereby granted, free of charge, to any person obtaining a copy of this software and associated documentation files (the “Software”), to deal in the Software without restriction, including without limitation the rights to use, copy, modify, merge, publish, distribute, sublicense, and/or sell copies of the Software, and to permit persons to whom the Software is furnished to do so, subject to the following conditions:
The above copyright notice and this permission notice shall be included in all copies or substantial portions of the Software.
THE SOFTWARE IS PROVIDED “AS IS”, WITHOUT WARRANTY OF ANY KIND, EXPRESS OR IMPLIED, INCLUDING BUT NOT LIMITED TO THE WARRANTIES OF MERCHANTABILITY, FITNESS FOR A PARTICULAR PURPOSE AND NONINFRINGEMENT. IN NO EVENT SHALL THE AUTHORS OR COPYRIGHT HOLDERS BE LIABLE FOR ANY CLAIM, DAMAGES OR OTHER LIABILITY, WHETHER IN AN ACTION OF CONTRACT, TORT OR OTHERWISE, ARISING FROM, OUT OF OR IN CONNECTION WITH THE SOFTWARE OR THE USE OR OTHER DEALINGS IN THE SOFTWARE.
MemoryModule by fancycode
Portions of this project make use of code from the MemoryModule project by fancycode, which is licensed as follows:
LegacyD3DResolutionHack: Includes code from LegacyD3DResolutionHack to removes the artificial resolution limit from Direct3D 7 and below.
MemoryModule: Includes code for loading libraries from memory.
Development
DxWrapper is written mostly in C++ using Microsoft Visual Studio 2022.
The project requires both the Windows 10 SDK and WDK (needs to have matching SDK and WDK versions installed). The exact version required can be seen in the project properties in Visual Studio.
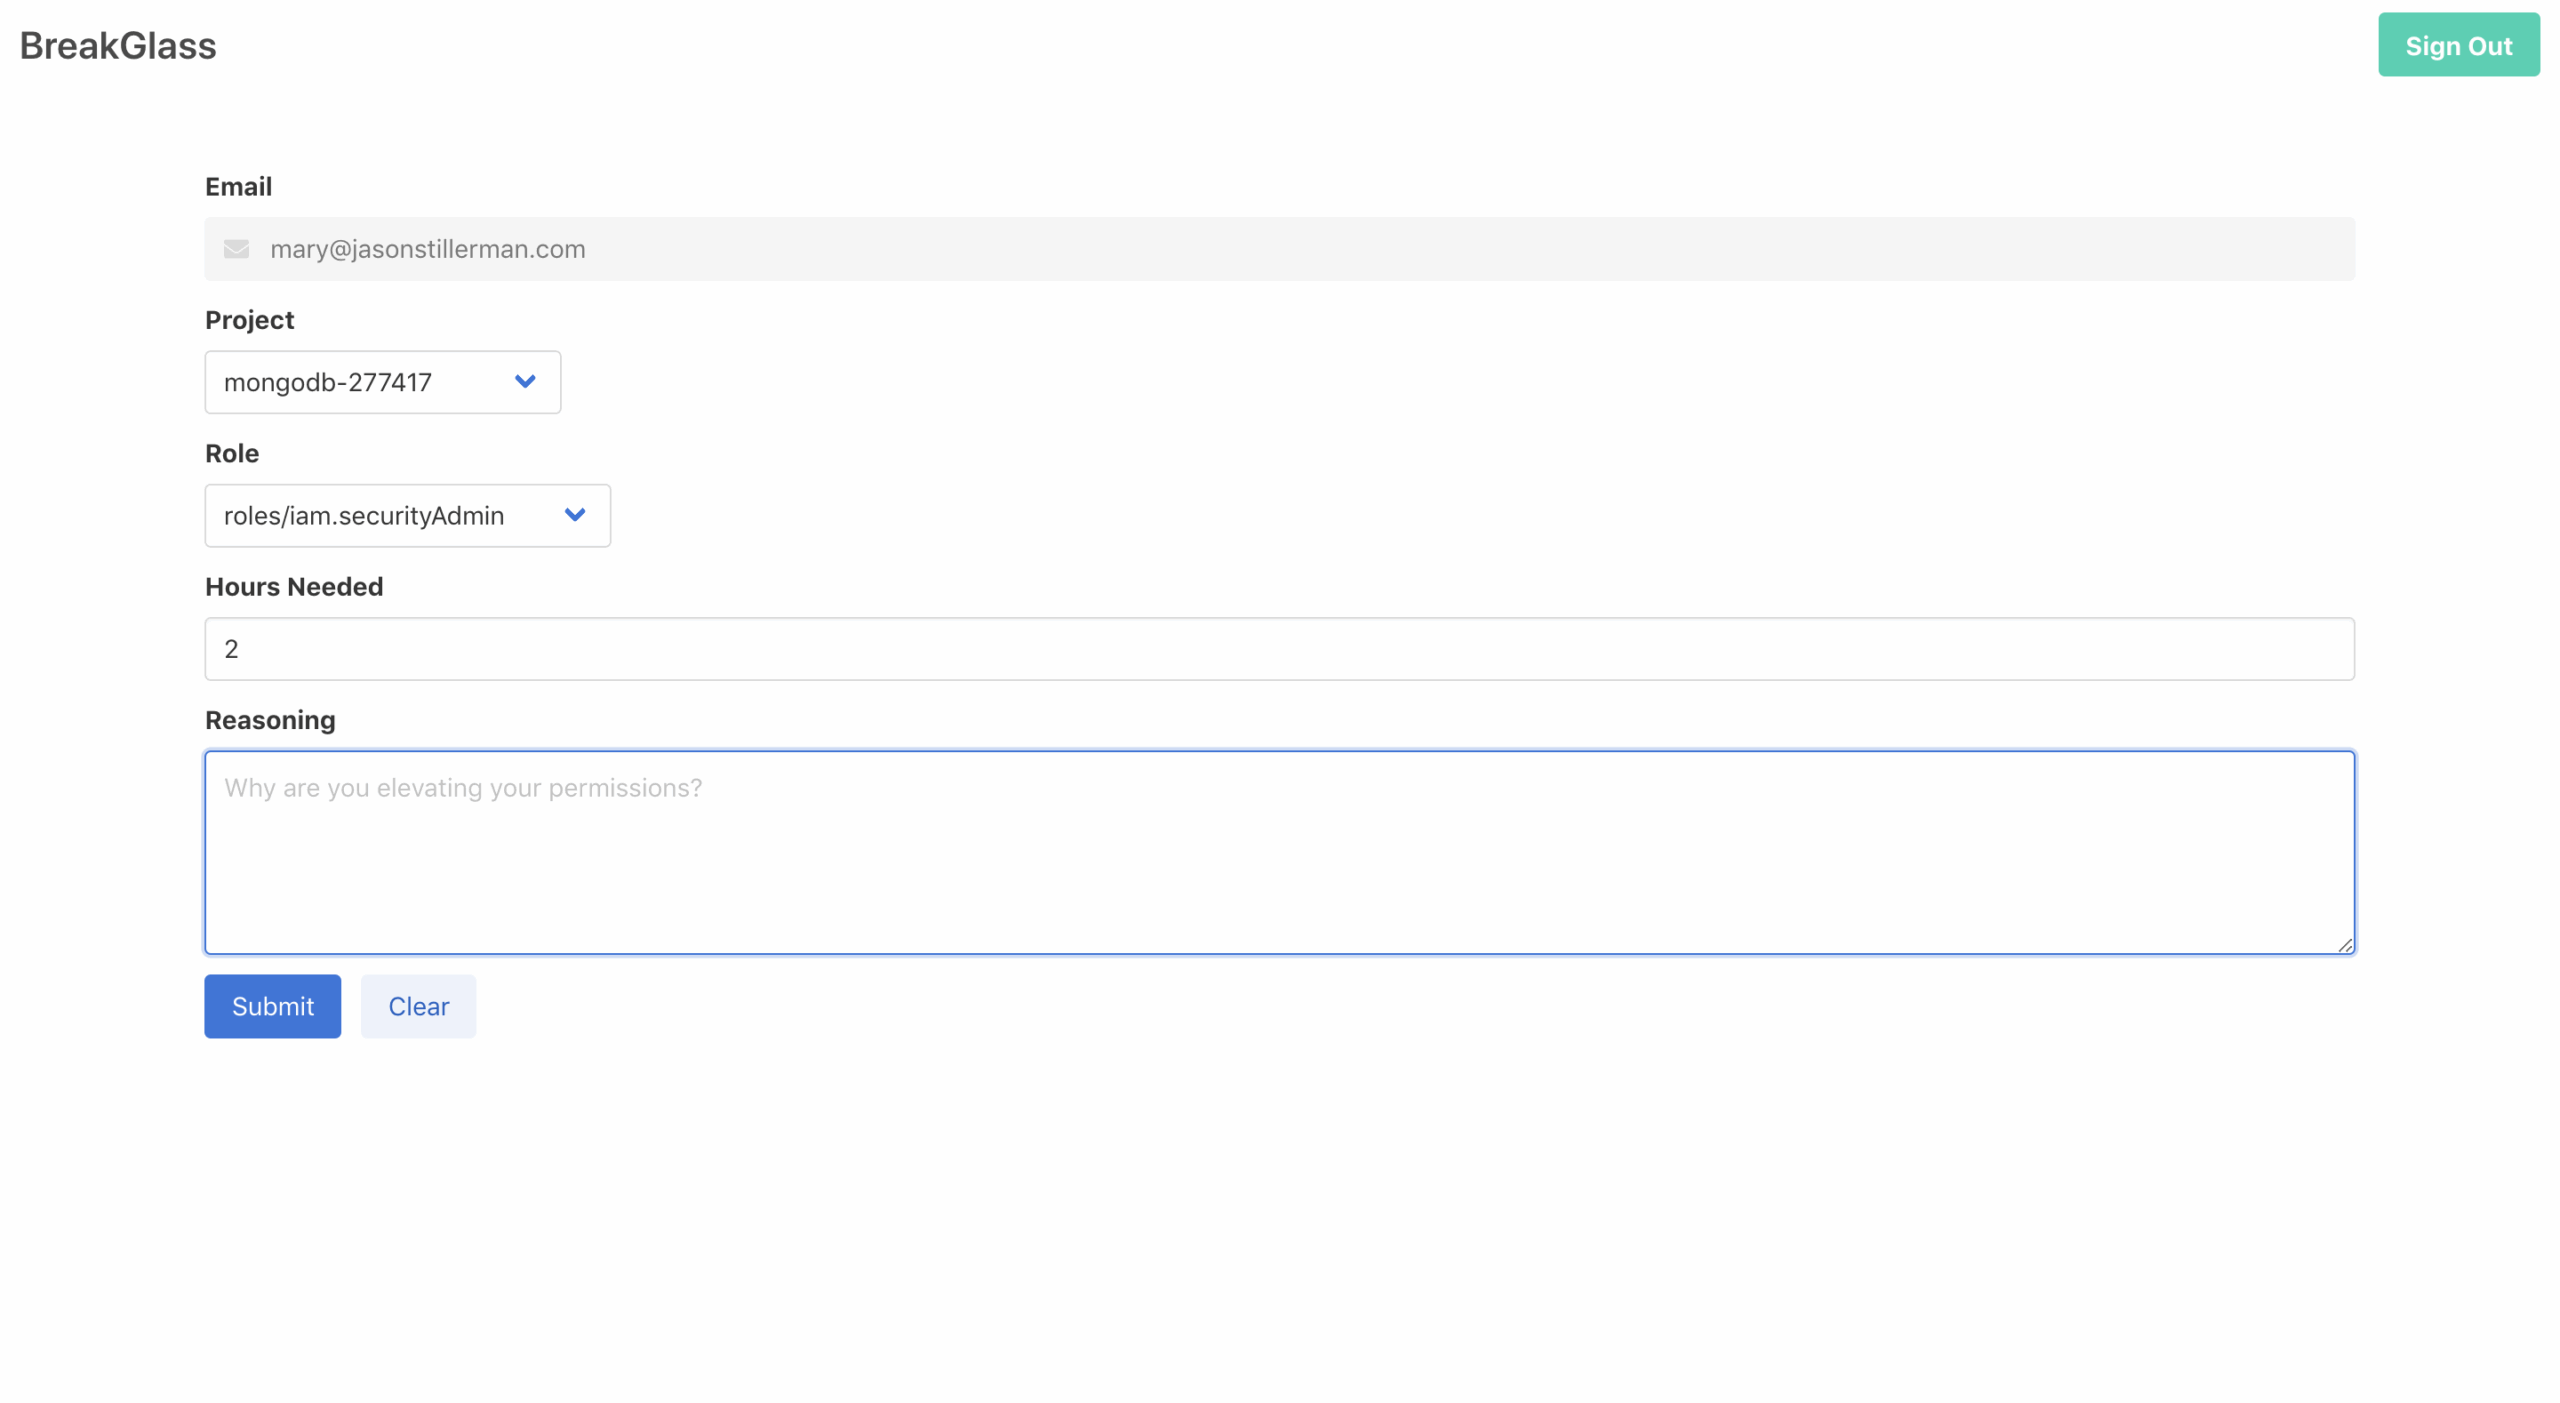
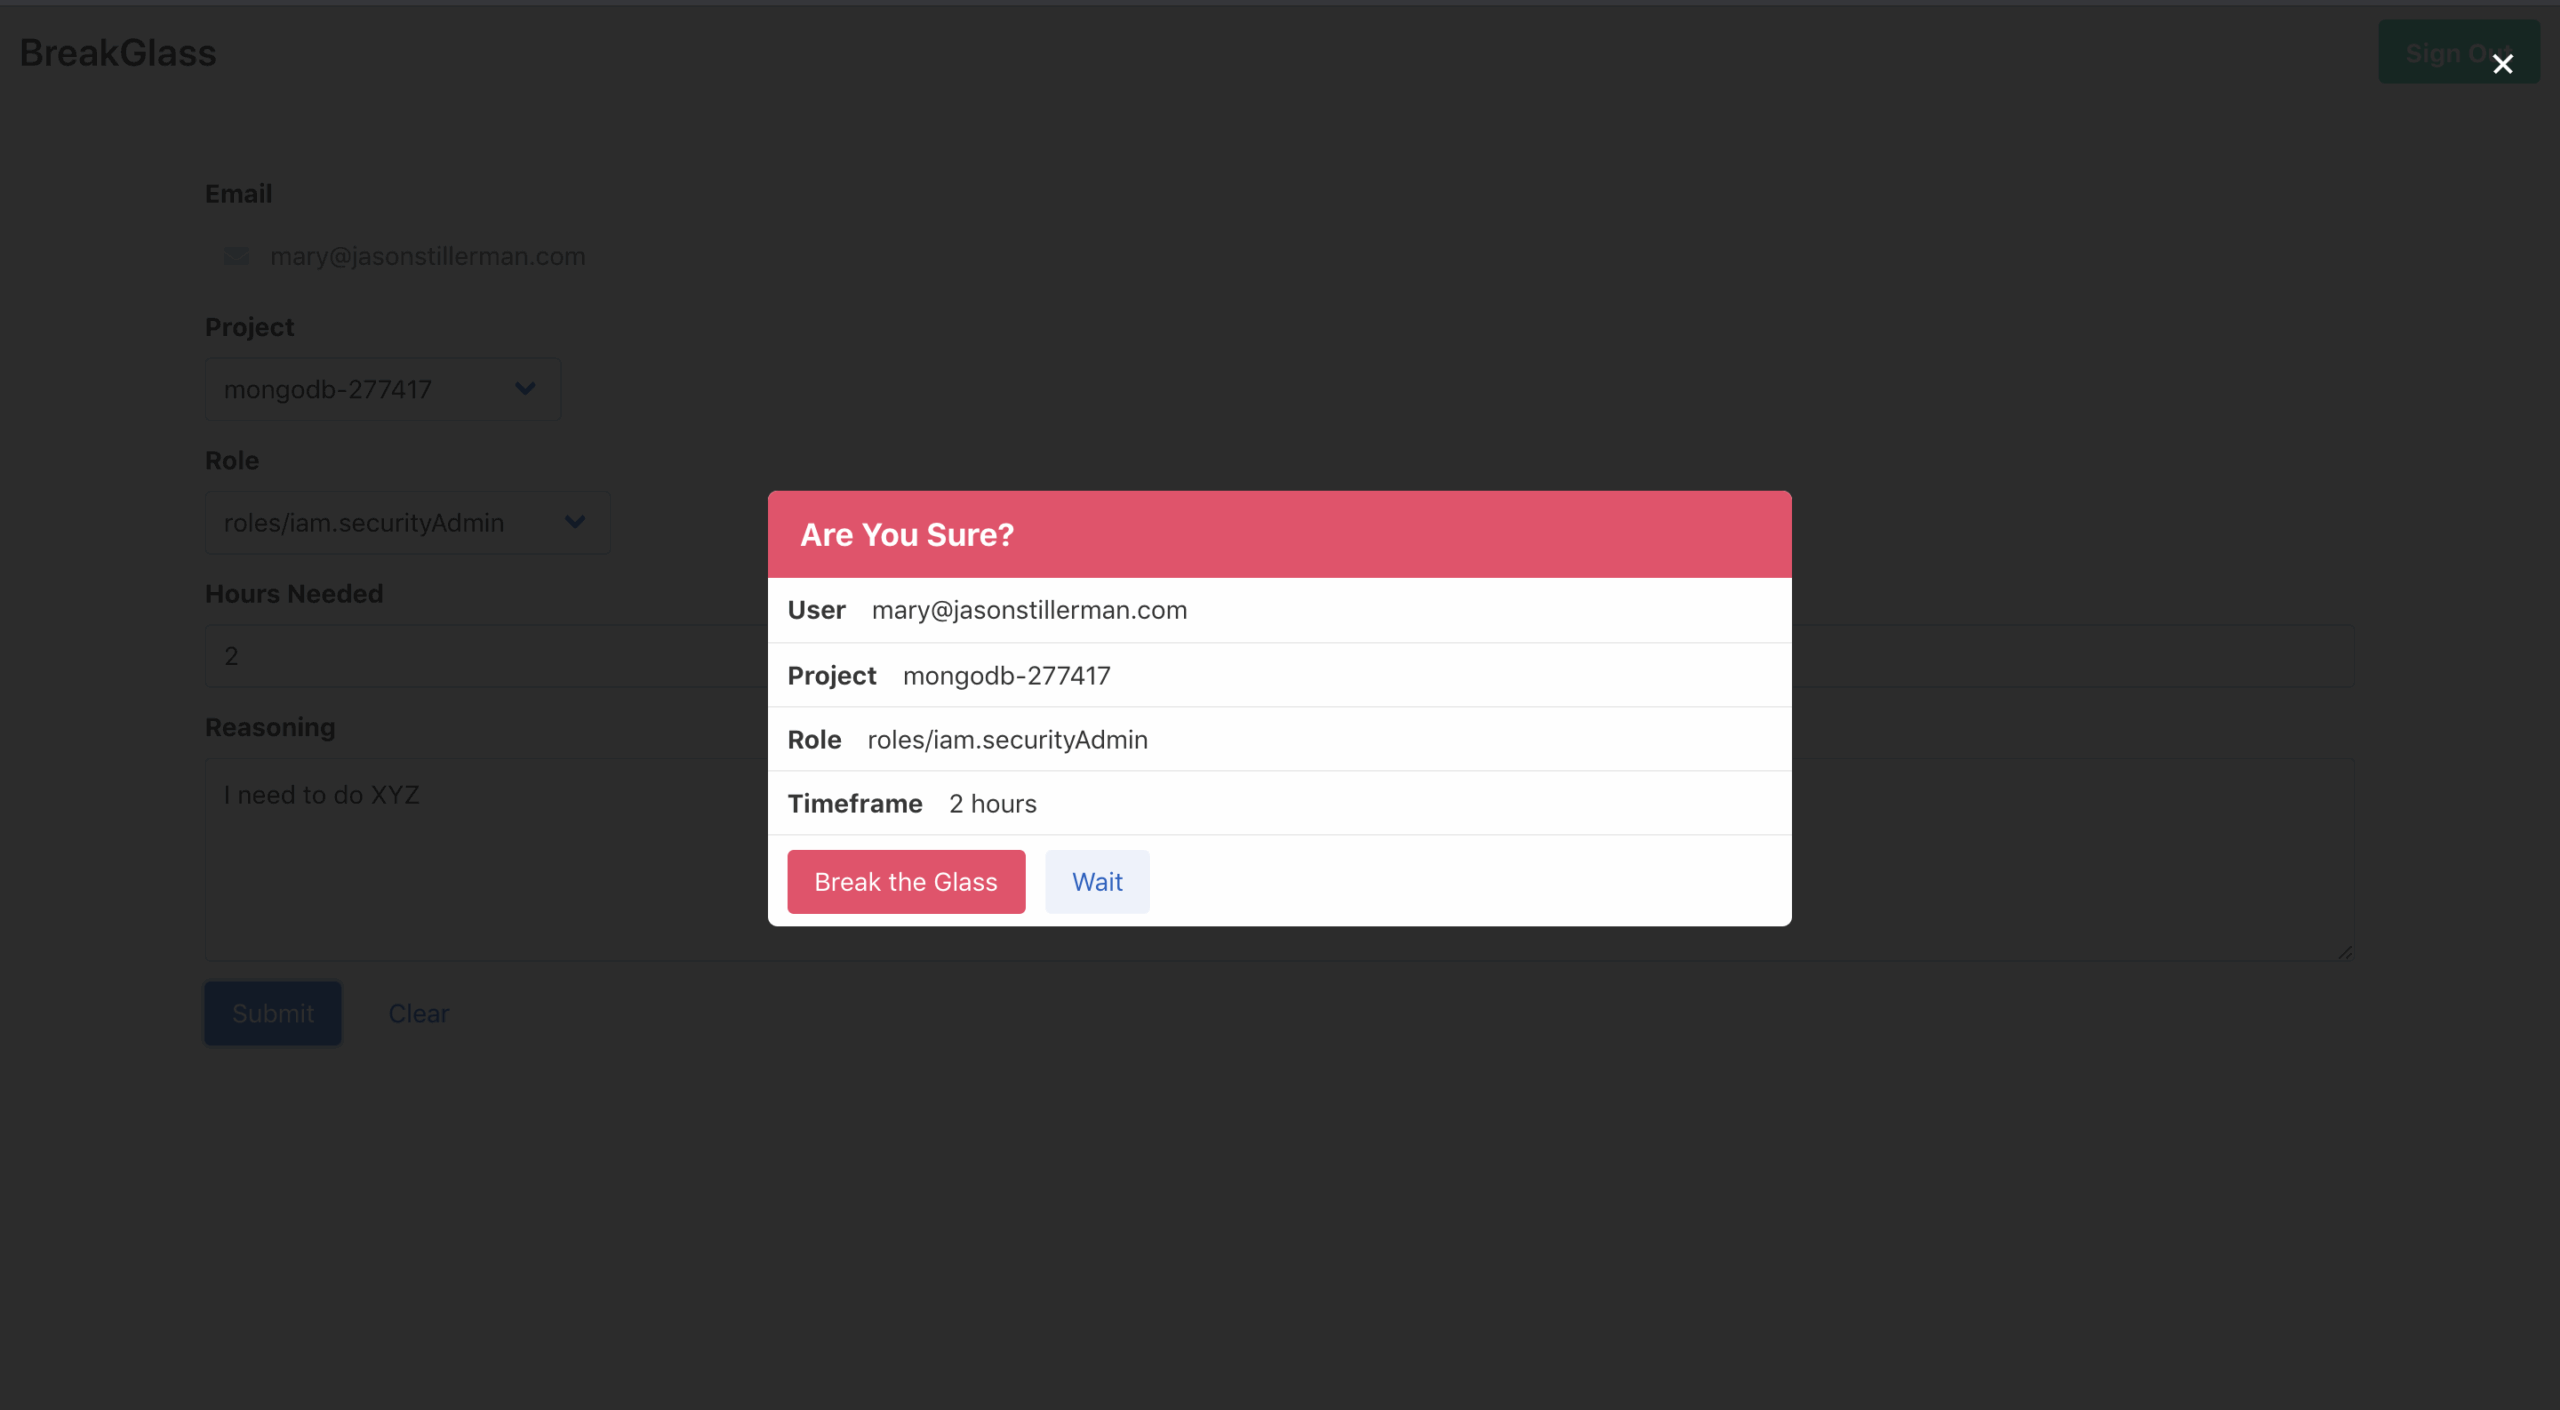
BreakGlass is a tool that allows developers to temporarily escalate their own GCP permissions at any time. This is like the sudo command for GCP permissions. Developers will be able to fix things at 3 AM without waking up the teams RP.
How it works
Sign into the app with your GCP credentials
Select a project
Select the permissions you need
Select a timeframe
Provide your reasoning for breaking the glass
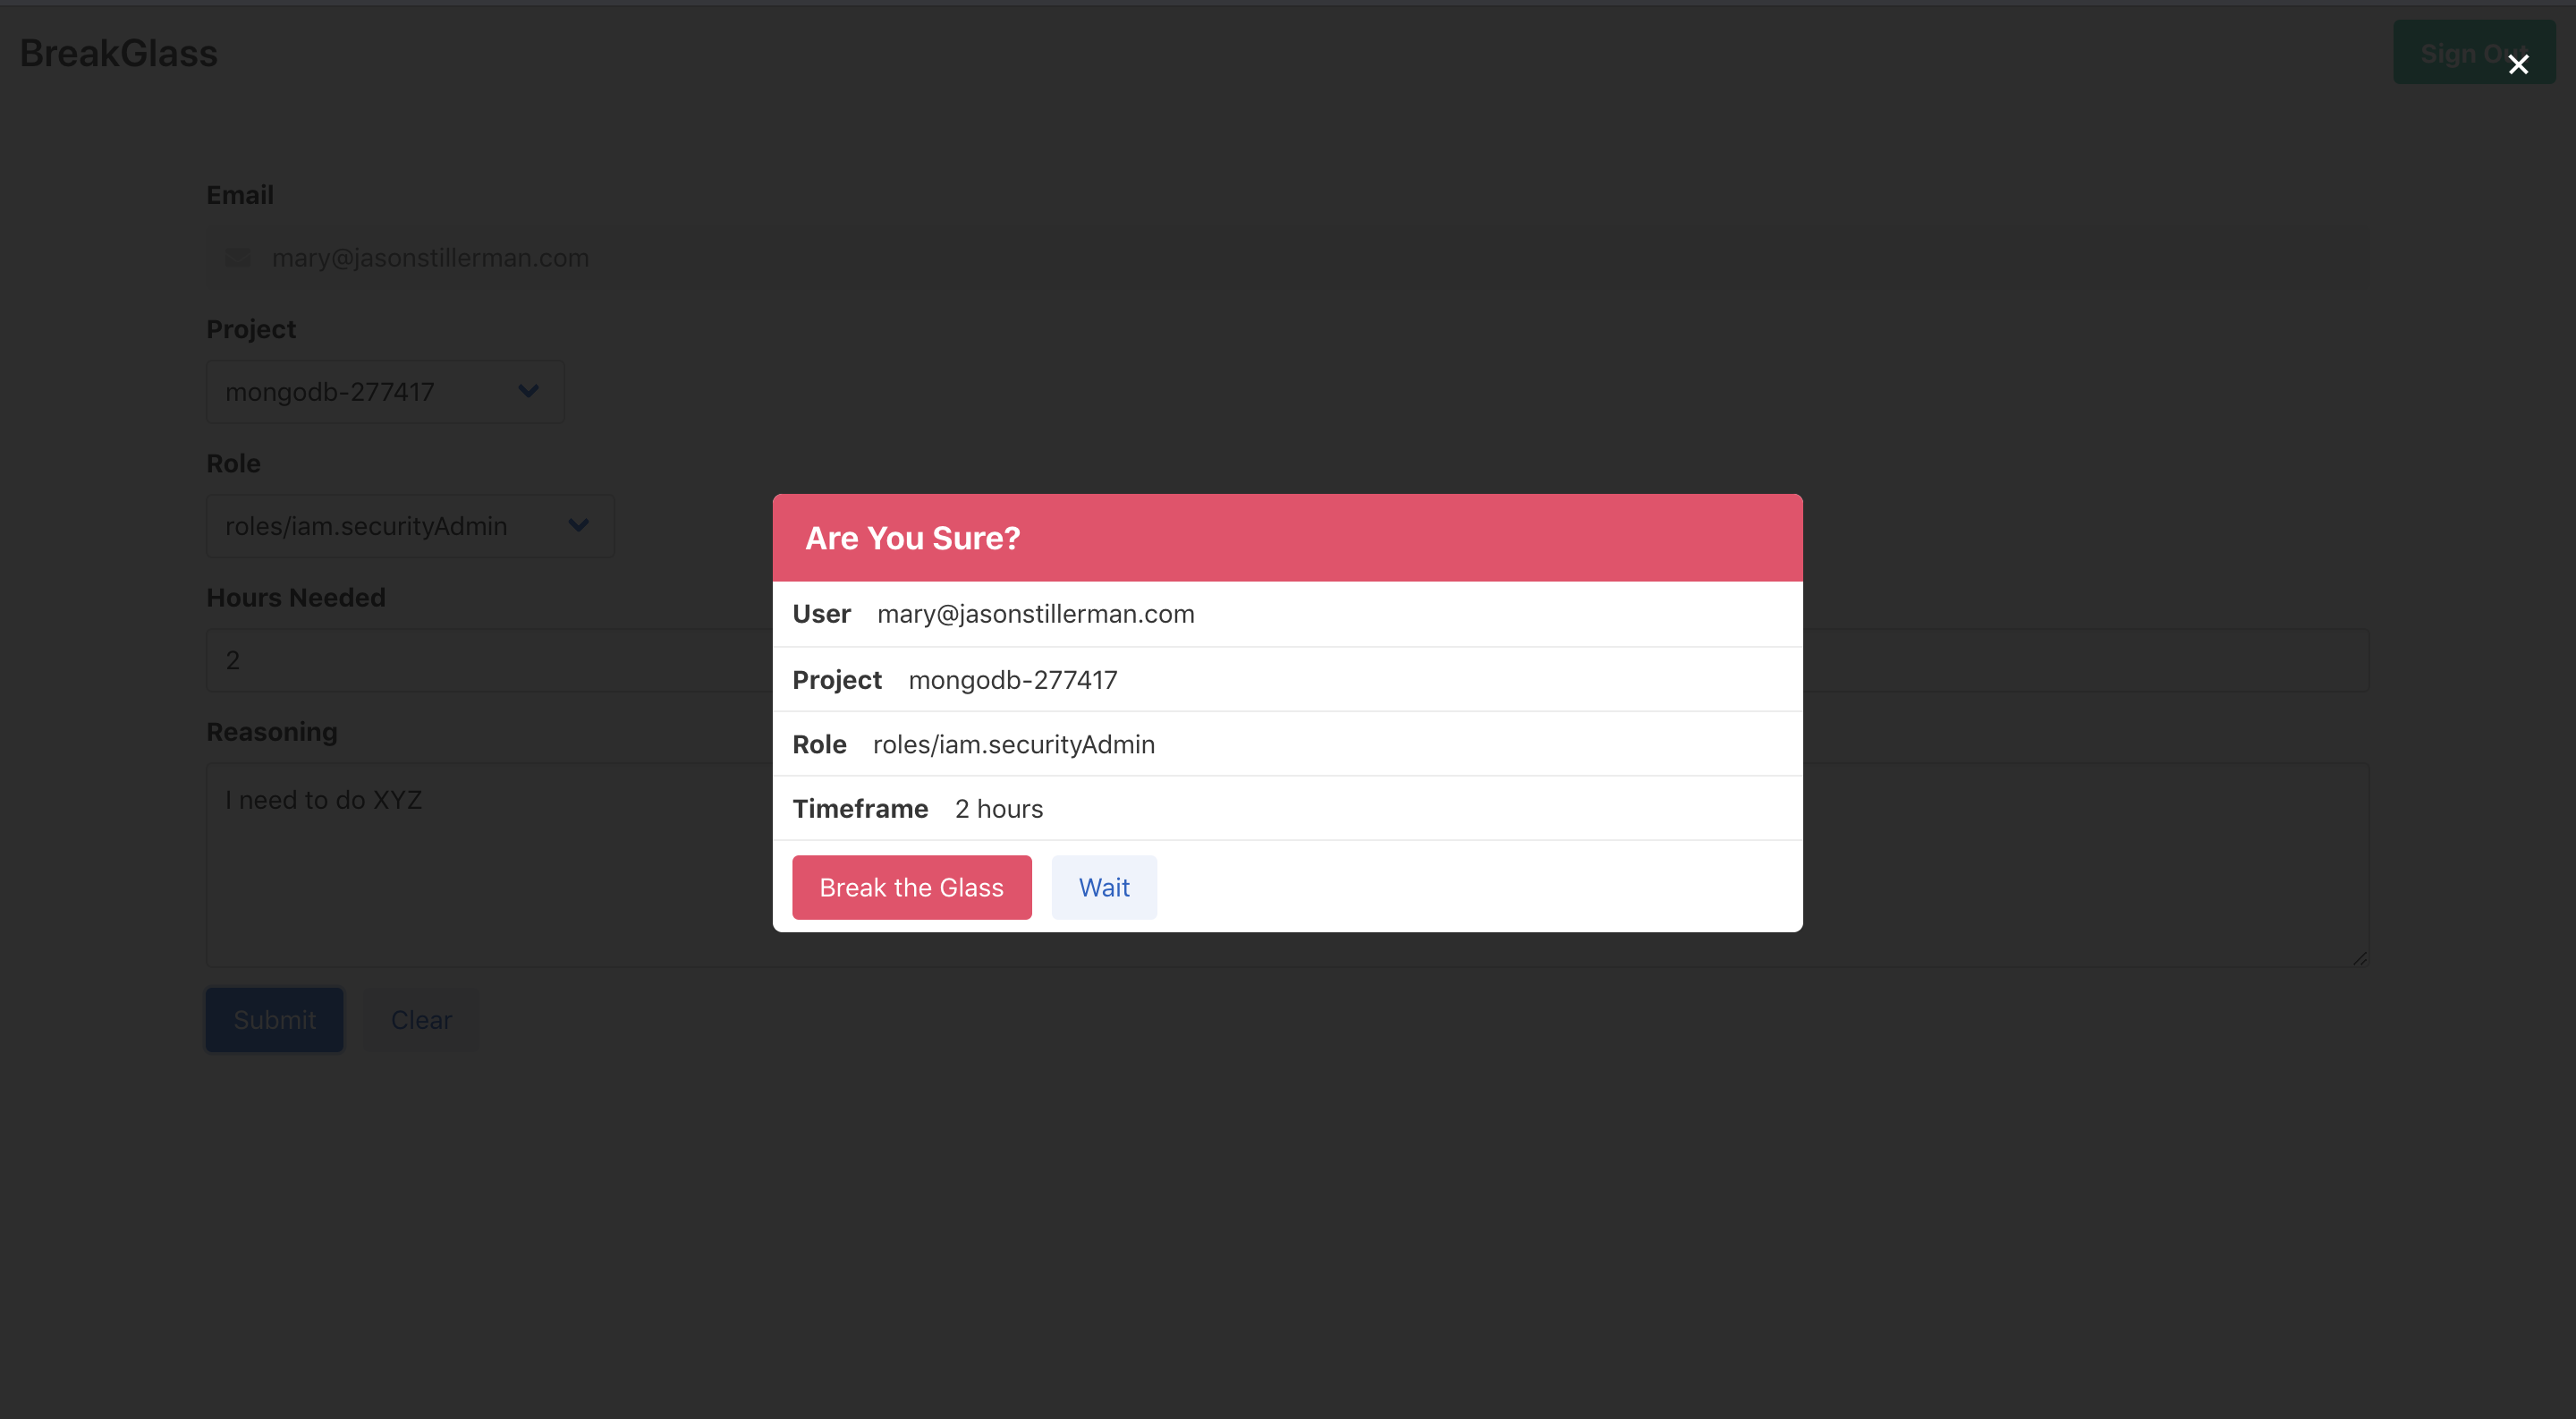
Your permissions will be provided and the event will be logged
Create a new GCP project that will house the BreakGlass server.
gcloud projects create breakglass-{UniqueID} --name="BreakGlass"
Make sure unique ID is a company-specific identifier because the projectID must be unique across all projects on google cloud.
Set that project to default with
gcloud config set project breakglass-{UniqueId}
Create a service account
gcloud iam service-accounts create sa-breakglass \
--description="BreakGlass service account" \
--display-name="sa-breakglass-disp"
--project=breakglass-{UniqueID from above}
You will now be able to see the account with
gcloud iam service-accounts list
It will be something like sa-breakglass@breakglass-{uniqueID}.iam.gserviceaccount.com
Download the key.json file with the following command (be sure you are in the root of the directory you cloned)
gcloud iam service-accounts keys create ./key.json \
--iam-account {The service account you created above}
Enable the Cloud Resource Manager API HereNote be sure that this is for the project Breakglass!
Next, grant sa-breakglass folder admin in all of the folders that you would like users to have the change to escalate in. Breakglass will only be able to see and update projects where it is the folder admin.
After permissions are configured, run
gcloud projects list
and make sure you can see the projects you want breakglass to have access to. Note It might take 3-5 minutes for the permissions to update and the projects to be visible.
Add OAuth to breakglass project
Go to the cloud console, select the breakglass project and then navigate to APIs & Services -> Credentials. Click “Create Credentials” -> Oauth Client ID -> Configure Consent Screen -> Internal then provide a display name (probably breakglass) -> Save
Now go back to credentials -> Create Credentials -> OAuth Client Id -> Application type: Web Application
Here, you name the key (name doesn’t matter) and you also add “Authorized JavaScript Origins”. Add just “http://localhost:8080” for now, we will come back to this later.
Click create and copy the client ID for later. You won’t be needed the secret.
Configure Breakglass
Copy K8s/breakglass-configmap.yaml.example to K8s/breakglass-configmap.yaml and configure it to your needs. Read about possible configurations here.
Note you will need the OAuth Client Id from the previous step.
Build the project
Build the docker image in the minikube context with
yarn k8s
Configure Kubernetes Project with
minkube start
kubectl apply -f K8s
Now the project will be running, but you have not whitelisted the port on the OAuth, so it will not work as is. Ensure everything is working properly by forwarding the port to the pod
kubectl port-forward {Naem od pod that was created} 8080:8080
Start by initializing a balancer and adding your proxies:
consthttp=require("http");const{ balancer }=require("proxy-supervisor");constawesomeBalancer=balancer().add(["http://SOME_PROXY:38403","http://OTHER_PROXY:61637"]);// Now, integrate it into your application. Below, we set up a basic HTTP server using the balancer as middleware.http.createServer(awesomeBalancer.proxy()).on("connect",awesomeBalancer.connect()).listen(3000);
Great! The next step is to configure your balancing server as the proxy server in any application that needs to use proxies. This setup will channel requests through the specified proxies, forming a path like (you) -> (balancer) -> (proxy) -> (endpoint).
Authentication
In scenarios where a proxy requires authorization, use the formatHeaders function. This function enables you to embed proxy credentials in the URL (e.g., https://login:password@MY_PROXY:3123) and set the appropriate authorization header. Here’s how to implement it:
A balancer is responsible for iterating over the list of proxies. Balancing across multiple proxy servers is a commonly used technique for minimizing the chance of blocking and increasing anonymity level.
Each instance has its own list of proxies, which is controlled by sources. Balancer is not responsible for invalidating proxies.
balancer.add(proxies)
proxies<Array> | <Url> | <String> List of proxy servers to be added.
Returns: this.
Adds specified proxies to the list of the current balancer.
balancer.remove(proxies)
proxies<Array> | <Url> | <String> List of proxy servers to be added.
Returns: this.
Removes specified proxies from the list of the current balancer.
balancer.subscribe(source)
source<Source> Source to listen.
Returns: this.
Subscribes to the specified source.
balancer.proxy([options])
options<Object> Configuration details.
timeout<Integer> Sets the socket to timeout after timeout milliseconds of inactivity. Note that increasing the timeout beyond the OS-wide TCP connection timeout will not have any effect (the default in Linux can be anywhere from 20-120 seconds). Defaults to 30 seconds.
formatHeaders<Function> This function is designed to modify headers before a request is sent through your proxy. It is commonly used for handling proxy authorization. The function signature is (proxy, headers), and it must return an updated headers object.
Returns: <Function>
Creates a middleware function. Middleware has a signature of (req, res, next). If next function is provided, it will be called on response or error. Be aware that res will be finished by then.
balancer.connect([options])
options<Object> Configuration details.
timeout<Integer> Sets the socket to timeout after timeout milliseconds of inactivity. Defaults to 30 seconds.
formatHeaders<Function> This function is designed to modify headers before a request is sent through your proxy. It is commonly used for handling proxy authorization. The function signature is (proxy, headers), and it must return an updated headers object.
callback<Function> Callback function that returns a next proxy to be used.
You can specify your own balancing algorithm. Callback has a signature of (proxies, url, req) and should return a single <Url> from a list.
balancer.onAdd(callback)
callback<Function> Callback function that returns a new proxy.
Callback will be called each time a new proxy is added to the list. Callback has a signature of (proxy) and should return <Object>. A good place to set default parameters for a new proxy.
balancer.onResponse(callback)
callback<Function> Callback function that handles response statuses.
Callback has a signature of (proxy, url, res, req) and will be called each time a request is completed. State of the proxy can be modified.
balancer.onError(callback)
callback<Function> Callback function that handles request errors.
Callback has a signature of (proxy, url, err, req) and will be called each time a request resulted in an error. State of the proxy can be modified.
Source
Should be used to modify the list of proxies for its listeners. The most common use case – collecting proxies from some site
and adding them to listeners.
source.addListener(listener)
listener<Balancer> A balancer which will be added to the list of listeners.
Returns: this
This method simply attaches a balancer to the source.
source.proxies()
Returns: <Array> Returns list of unique proxy urls.
Helper function to retrieve the list of proxies from all listeners. Proxies are unique across the array and represented as <Url>.
Monitor
Particular case of the Source. A monitor is responsible for filtering dead and slow proxies out from balancers.
new Monitor([options])
options<Object> Set of configurable options to set on the monitor. Can have the following fields:
target<String> specify path for the request to be done via proxies.
timeout<Integer> Sets the socket to timeout after timeout milliseconds of inactivity. Defaults to 3 seconds.
interval<Integer> Specifies how much time should pass after the last check is completed. Defaults to 5 minutes.
Monitor is started automatically on creation, and will trigger for the first time after the specified interval is passed.
monitor.start()
Starts a monitor. Use only in case you have stopped monitor manually. Monitor is started automatically on the creation and can work with an empty list of listeners.
monitor.stop()
Stops a monitor. It will clear current timer, but already running check will be not affected.
monitor.check()
Returns: <Promise> A promise, which resolves into an array of dead proxies. Those proxies are already removed from listeners.
Validates proxies. This method will create parallel requests to the target location for each proxy. Timed out, unreachable or blocked proxies will be removed from all listeners. By default, valid status codes are 200, 201, 202.
monitor.onResponse(callback)
You can specify your own handler for proxies. Callback should have a signature of (err, proxy, res, body) and return true for valid proxy and false otherwise.
Example
To run the example, clone this repo and install its dependencies:
$ git clone git@github.com:Vladislao/proxy-supervisor.git
$ cd proxy-supervisor
Don’t forget to modify your proxy.txt file. Grab any free proxies you can find.
Then run the example with:
$ node example
Here is a simple curl command to check your proxy server:
$ curl http://google.com -x http://localhost:9999
Tests
To run the test suite, execute the following commands:
This repository contains the hackathon kit for you to get started on solving topic 1: Drug
Discovery and eventually a place where you host all your submission artifacts as your own fork.
Sponsors
Background
A few studies have shown that HIV antivirals offer promising results, but this is still an open
field of discovery.
Finding a new drug or validating an existing drug are both suitable approaches.
Goal
Find a candidate drug (ligand) with a high binding affinity with the COVID-19 main protease.
Use machine learning to identify a potential candidate, then use docking software to get the
binding affinity between it and the main protease.
Write a report that describes your process and results in detail in the form of a jupyter
notebook.
Submission
You are required to submit a 15-minute presentation video of your report. However, to ensure the
legitimacy of your submission, you are required to submit your project artifacts (code, datasets,
documents) as a fork to this repository.
A submission form will be available on the 14th of April 2020 for submission,
please join our
facebook group and
discord channel to keep updated with latest changes.
After creating your own fork
of this repository, clone the repository:
Once you are ready to submit, create a pull request from your
fork to us and include the link to your fork in
your submission form that will be available on the 14th of April 2020.
Please remember that your code will be publicly available, open-sourced licesed and free for the
internet to use. Please ensure that you don’t commit any sensitive information!
Resources
Presentations
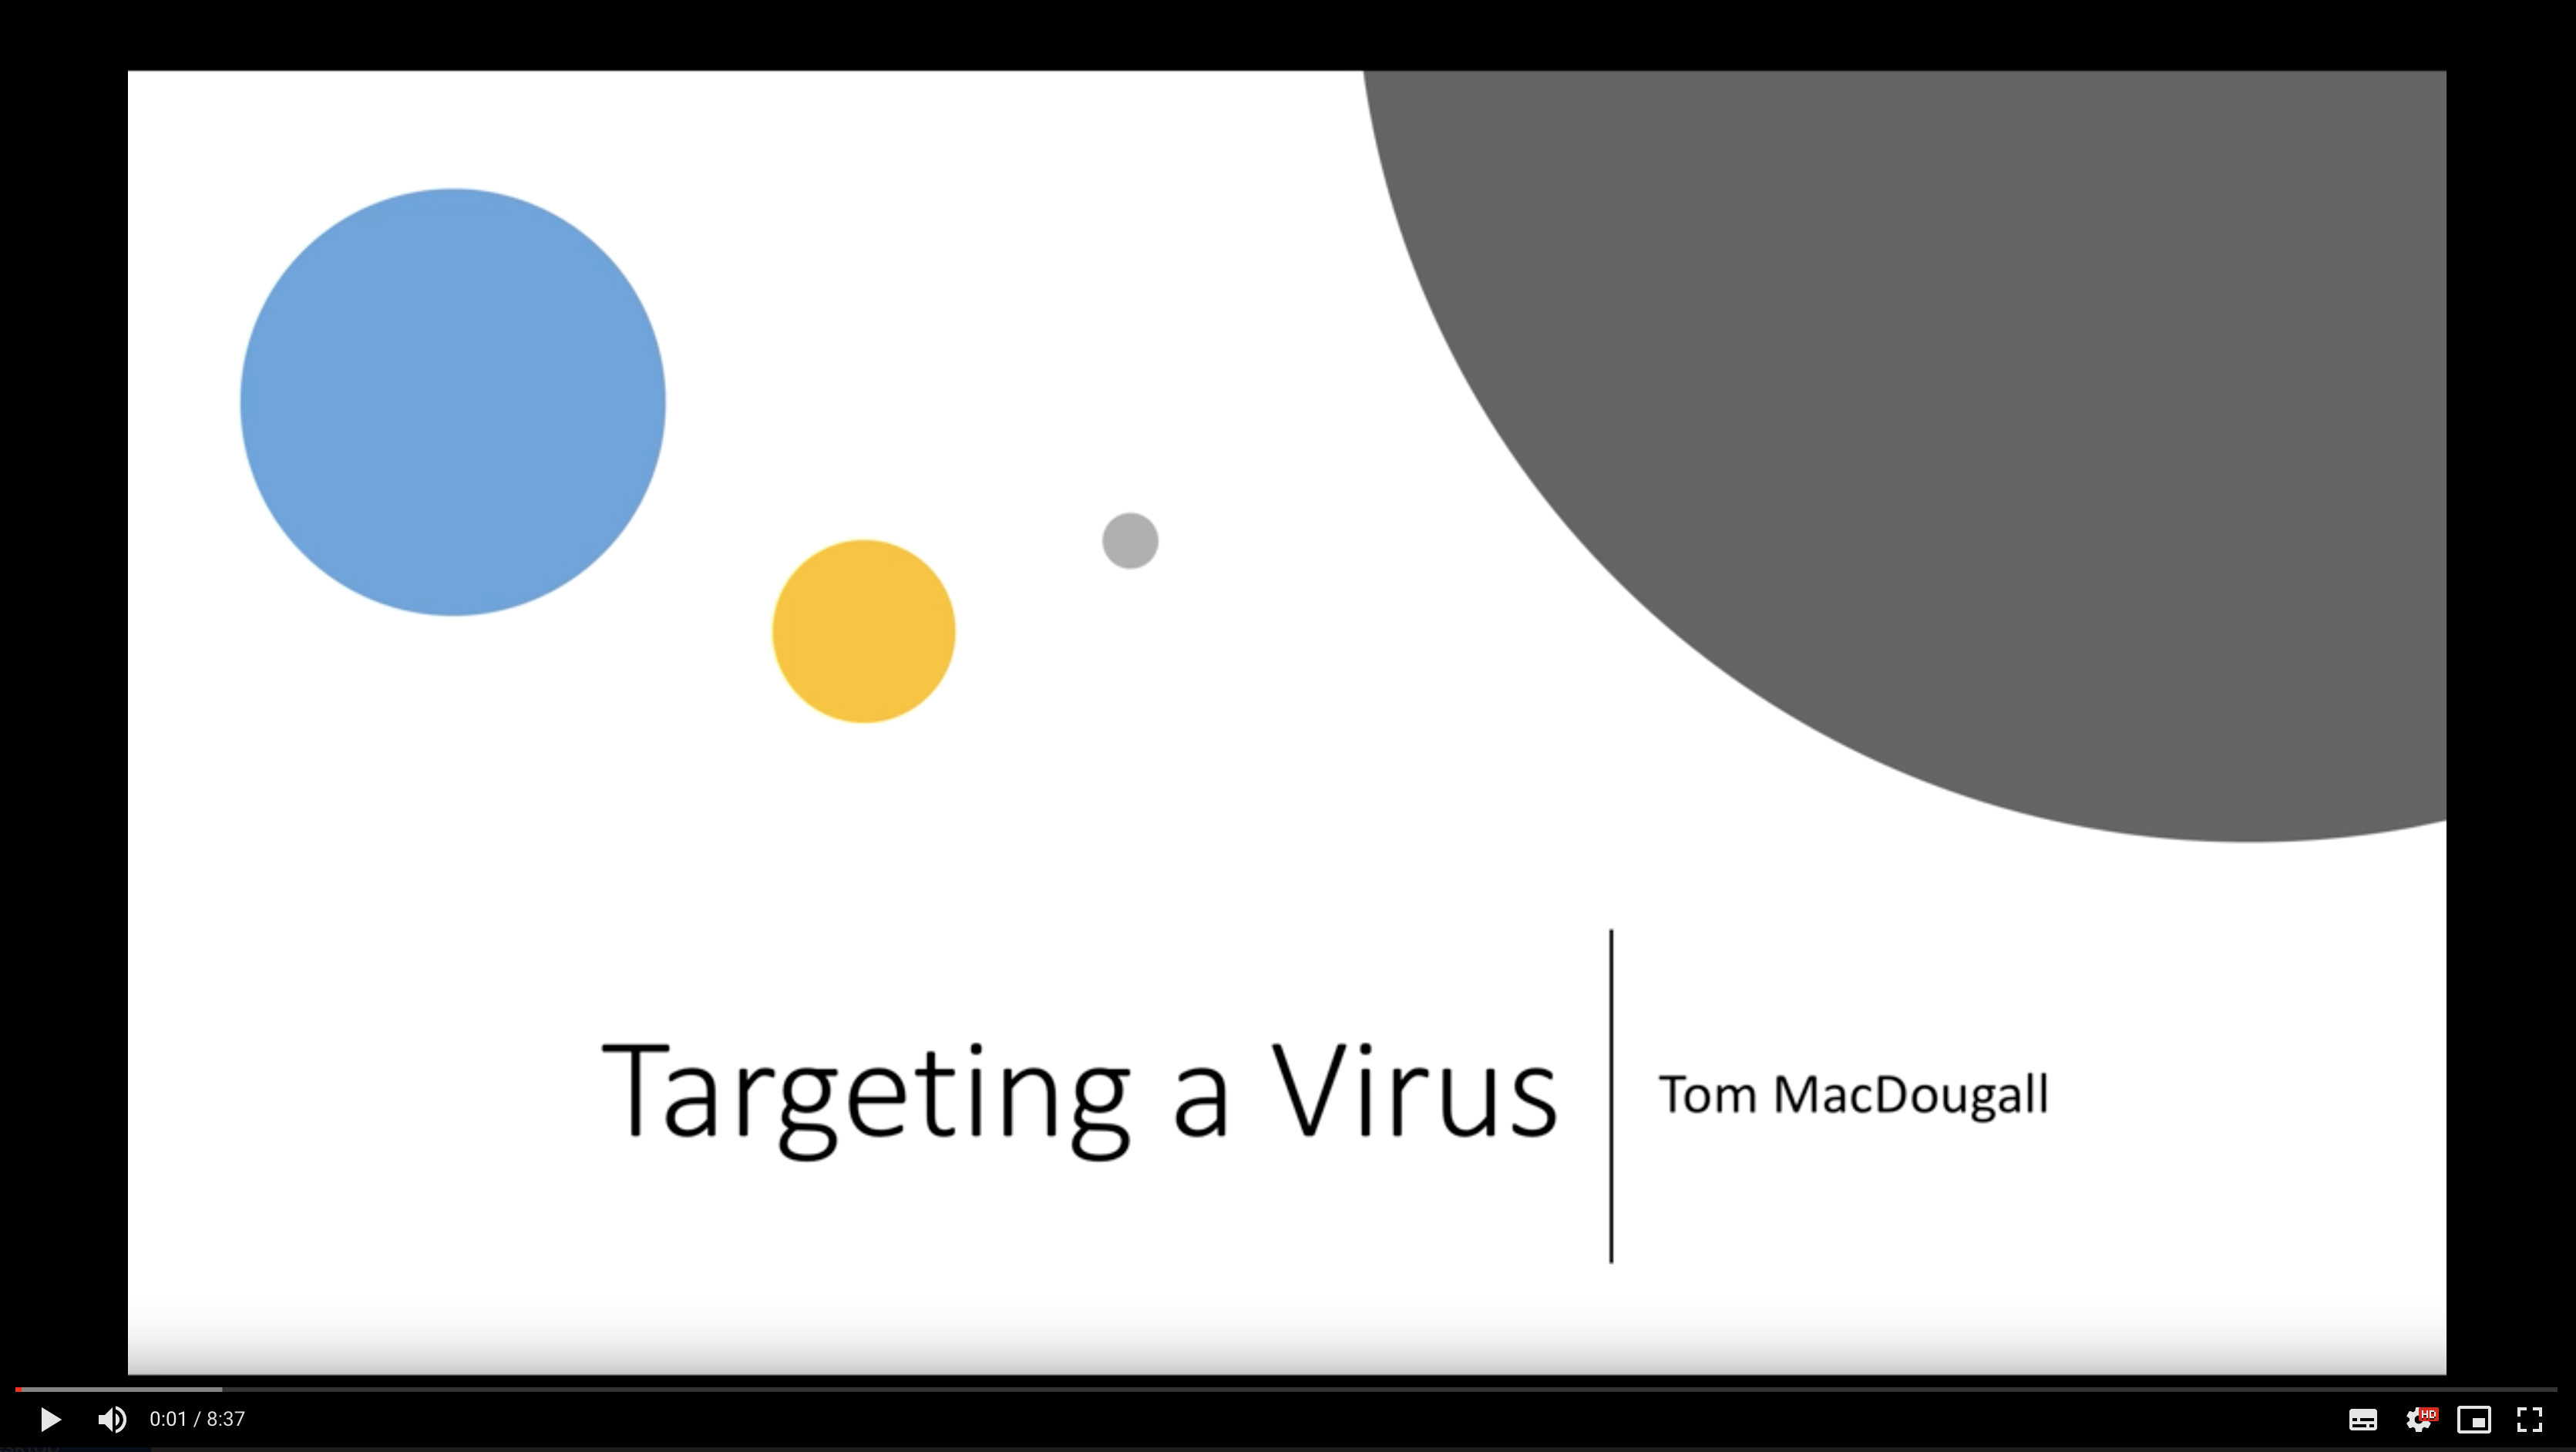
Virus Primer – Target a Virus
Thomas MacDougall – Graduate Student in Computer Science at the University of Montreal
Contributions are welcome !
If you find any typo or error, feel free to raise an issue.
If you would like to contribute to the code and make changes directly (e.g. adding algorithms, adding a new section, etc), you should start by cloning the repository.
Since all the sources and figures are included in the repo, you can make modifications and build the document locally. For this, you should have a full TeX distribution (if not, you can install it here), and you can then edit the LateX files with any IDE (e.g. Visual Studio Code).
Work on Overleaf
If you’d rather avoid installing LateX, you can also use Overleaf. For this, you need to compress the rl-cheatsheet folder and upload it to Overleaf (New Project -> Upload Project).
Ganalytics is tiny api layer for any analytics in application. It provides an object oriented, typesafe, strict and testable way to organize work with analytics in the application. More information on wiki pages.
Titanic Survival Prediction and Power BI Dashboard
This project consists of two main components:
A Machine Learning Prediction Model to predict passenger survival.
A Power BI Dashboard to visualize different aspects of the dataset.
1. Prediction Model
Objective:
The goal of this component is to predict passenger survival using machine learning based on the Titanic dataset from Kaggle.
Steps Taken:
Data Cleaning & Preprocessing:
đ Dropping irrelevant columns
đ Handled missing values.
đ Outliers handling
đ Normalization od numerical columns
đ Converted categorical data into numerical format.
đ Scaled numerical features for better model performance.
đ Model Training:
Used the Logistic Regression model to classify passengers as survived (1) or not survived (0).
Evaluated model performance using accuracy metrics.
Prediction Submission:
Generated predictions based on the test dataset.
Submitted results for evaluation.
Files:
đ Titanic_Predictions.ipynb â Contains the complete code for data preprocessing, model training, and prediction generation.
2. Power BI Dashboard
Objective:
To create a visual representation of Titanic passenger data to understand trends, survival rates, and relationships between key features.
Steps Taken:
Data Preprocessing (Using Python):
Cleaned and formatted data specifically for visualization.
đ Dropped unnecessary columns
đ Handled missing values and transformed data types.
đ Feature engineering
đ Saved the processed dataset for Power BI.
đ Dashboard Creation (Using Power BI):
Designed interactive charts and graphs to explore survival rates, fares, passenger demographics, and more.
Used bar charts, pie charts, and histograms to present insights clearly.
Files:
đ Titanic_preprocessed_Data.ipynb â Contains the data cleaning and preprocessing code used for the Power BI dashboard.
đźď¸ Titanic_Dashboard.png â Screenshot of the final Power BI dashboard.
đ Tools & Techniques Used
đ¸ Python (for data preprocessing and machine learning)
đ¸ Power BI â Interactive dashboard for exploratory data analysis
Dataset Source:
Kaggle Titanic Dataset
This project provides both a predictive model and a visual analysis of Titanic passengers. Feel free to explore, modify, and contribute! đ˘